
Setting up an aquarium can be a rewarding experience, offering a calming and beautiful addition to your living space. However, many beginners are often discouraged by the perceived complexity of maintaining an aquarium. The good news is that it is possible to create a low-maintenance aquarium that doesn’t require constant attention, making it easier for new fishkeepers to enjoy the hobby without feeling overwhelmed.
In this article, we’ll guide you through the process of setting up a low-maintenance aquarium, including the best fish, plants, equipment, and cleaning routines that will keep your tank clean and your fish healthy with minimal effort.
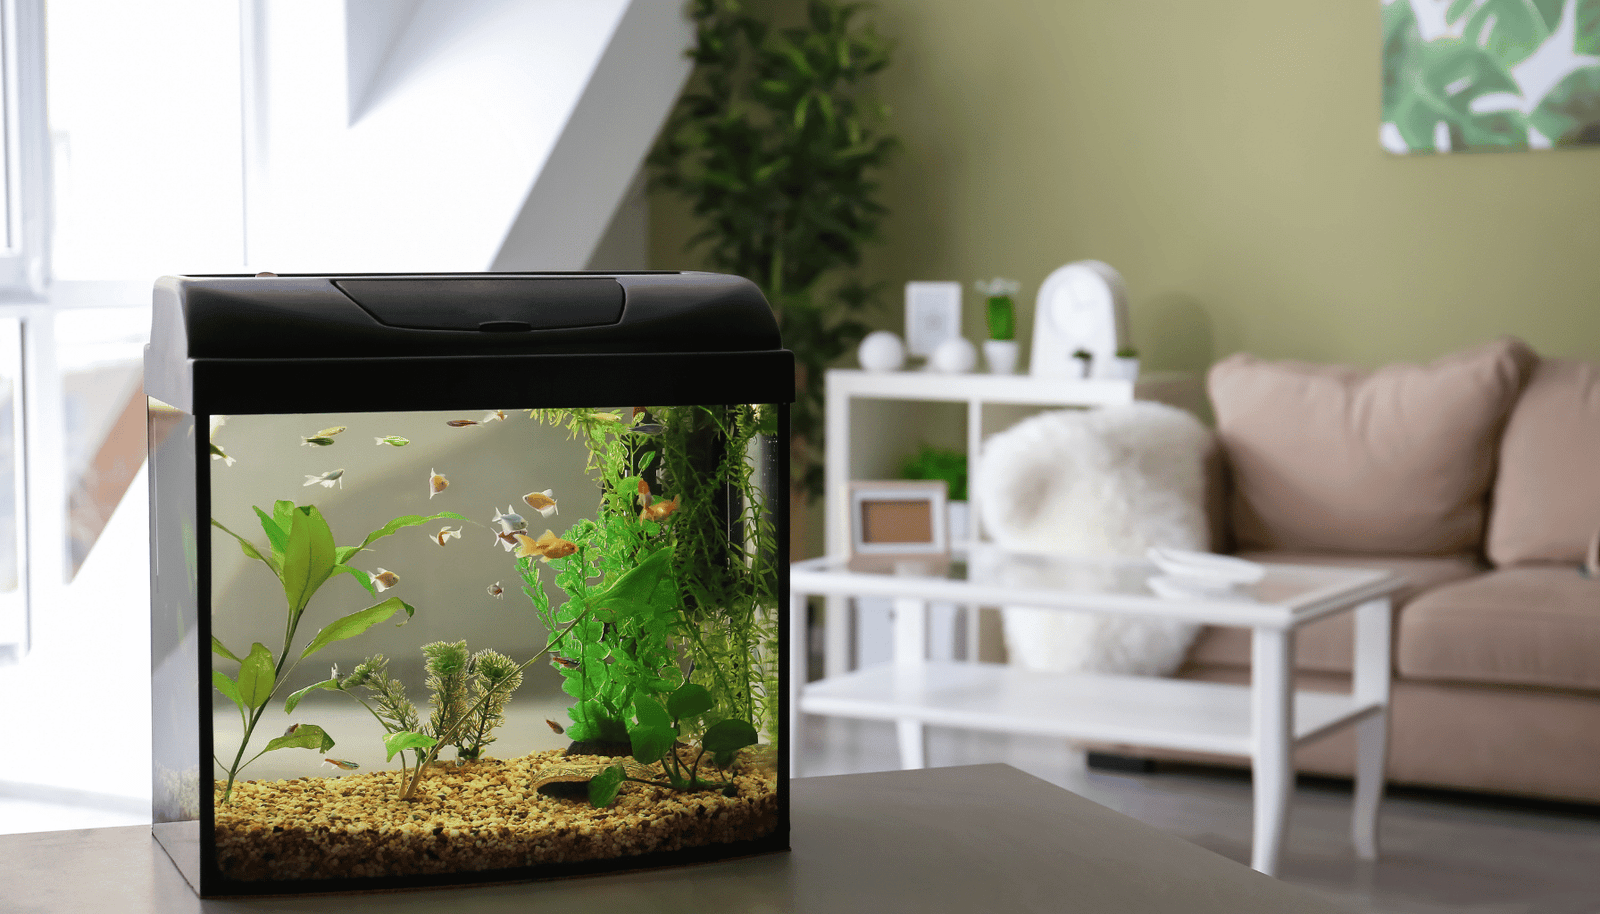
1. Choosing the Right Tank for a Low-Maintenance Setup
The first step in setting up a low-maintenance aquarium is choosing the right size and type of tank. While a larger tank may require more effort to set up, a smaller tank is easier to manage but may require more frequent cleaning and maintenance. For beginners seeking a low-maintenance setup, a tank between 10 to 20 gallons is ideal, as it offers a balance of space for fish to thrive without overwhelming you with upkeep.
Why Choose a Medium-Sized Tank?
- Stable water conditions: Larger tanks are less likely to experience rapid fluctuations in temperature, pH, and water quality compared to smaller tanks.
- Easier to maintain: With a medium-sized tank, you won’t need to clean it as often, and it can house more resilient fish that can tolerate minor water quality changes.
Avoid tanks that are too small (under 5 gallons) unless you’re specifically setting up a nano tank with a low-maintenance plan. Small tanks are often harder to stabilize and require more frequent water changes.
2. Choosing the Right Equipment
To minimize maintenance, it’s important to invest in reliable and efficient equipment from the start. Here’s what you’ll need:
1. Filter
A high-quality filter is essential for keeping your aquarium clean with minimal effort. The filter will help remove waste, debris, and excess food from the water, maintaining optimal water quality. For a low-maintenance setup, a Hang-On-Back (HOB) filter or internal filter will provide the filtration you need without being too bulky.
Why a Filter is Key:
- Removes debris and toxins.
- Helps maintain a stable ecosystem.
- Reduces the need for frequent water changes.
2. Heater (for Tropical Fish)
If you plan to keep tropical fish, a submersible heater will be necessary to maintain the water temperature between 72°F and 80°F (22°C to 27°C). Heaters are generally low-maintenance as long as they are properly installed, and they’re crucial for fish health.
3. Lighting
Aquarium lighting is needed to simulate a natural day-night cycle for your fish and plants. LED lights are ideal for low-maintenance aquariums as they are energy-efficient and have a long lifespan. If you plan to have live plants, ensure the lighting is suitable for plant growth.
4. Substrate
Choosing the right substrate is another key consideration. For a low-maintenance aquarium, gravel is a great option. It’s easy to clean, and waste doesn’t get trapped as much as it does in fine sand. Additionally, gravel provides a surface for beneficial bacteria to grow, which helps maintain a healthy ecosystem.
5. Plants (Optional)
Live plants can enhance the aesthetic appeal of your aquarium and provide natural filtration by absorbing excess nutrients. However, they do require some care, such as trimming dead leaves and occasional fertilization. If you prefer a more low-maintenance option, consider low-light plants like Java fern, Anubias, or Marimo moss balls that don’t require much attention.
3. Selecting Low-Maintenance Fish Species
Choosing the right fish is essential for keeping your aquarium low-maintenance. Some fish species are hardier than others and can tolerate slight fluctuations in water quality. When selecting fish, opt for species that are well-suited to living in a stable, low-maintenance environment.
Here are some excellent choices for a beginner-friendly, low-maintenance aquarium:
1. Betta Fish
Betta fish are hardy, easy to care for, and don’t require a large tank. They thrive in small aquariums (5 gallons or larger) and are relatively low-maintenance, needing only a simple filter and heater. Bettas are also beautiful and active, adding visual interest to your aquarium.
2. Guppies
Guppies are small, colorful, and adaptable to various water conditions. They’re perfect for a community tank and don’t require much care beyond regular feeding and occasional water changes.
3. Neon Tetras
Neon Tetras are small, peaceful fish that are ideal for beginners. They do well in schools of 5 or more and are relatively low-maintenance. They don’t require strong filtration and can tolerate slight fluctuations in water quality.
4. Corydoras Catfish
Corydoras are bottom-dwelling fish that help clean up leftover food and debris from the substrate. They are peaceful, easy to care for, and do well in small groups.
5. Zebra Danios
Zebra Danios are hardy, fast-moving fish that can tolerate a wide range of water conditions. They’re perfect for beginners and add a lively dynamic to your tank.
4. Low-Maintenance Setup Tips
Here are some additional tips for creating and maintaining a low-maintenance aquarium:
1. Set Up a Proper Filtration System
Good filtration is key to reducing maintenance in your aquarium. A filter that removes both mechanical debris (dirt and waste) and biological waste (ammonia and nitrates) will keep your water clean and reduce the need for frequent water changes.
2. Maintain a Regular Cleaning Schedule
Although this is a low-maintenance aquarium, regular cleaning is still essential. A cleaning routine might involve:
- Weekly or bi-weekly water changes: Replace 10-20% of the water to remove accumulated waste.
- Monthly filter maintenance: Clean or replace the filter media as needed, but avoid over-cleaning, as this can disturb beneficial bacteria.
- Glass cleaning: Use an algae scraper to remove algae from the glass.
3. Limit Overfeeding
Overfeeding is one of the most common causes of poor water quality. Feed your fish small amounts once or twice a day, and avoid leaving uneaten food in the tank, as it can decompose and pollute the water.
4. Avoid Overstocking
Overstocking your aquarium increases the bio-load, meaning there’s more waste to filter out. Stick to the “one inch of fish per gallon” rule to ensure you don’t overcrowd the tank. It’s better to have fewer fish in a low-maintenance aquarium so that the filtration system can keep up.
5. Use a Timer for Lighting
Using a timer for your aquarium light will help you maintain a consistent day-night cycle for your fish and plants. This eliminates the need for manual adjustments and ensures your fish are not stressed by inconsistent lighting patterns.
5. Optional Automation for Low-Maintenance Aquariums
To further reduce maintenance, consider using automated devices such as:
- Automatic fish feeders: These feeders dispense food at regular intervals, ensuring you don’t overfeed your fish.
- Aquarium timers: Timers for lighting, heaters, and filters can automate various tasks, saving you time and effort.
- Water conditioners: Use a water conditioner to eliminate chlorine and chloramines from tap water to ensure a healthier environment for your fish.
6. Conclusion
Setting up a low-maintenance aquarium is a great way for beginners to enjoy the hobby without feeling overwhelmed by constant upkeep. By choosing the right tank size, equipment, and fish species, and by maintaining a regular cleaning schedule, you can create a thriving aquarium that requires minimal care.
With the right setup and a little attention, your low-maintenance aquarium can provide years of enjoyment and become a beautiful, peaceful addition to your home. Remember, the key is patience and understanding your tank’s needs, which will make your aquarium experience a rewarding one!